
First, a disclaimer. I hiked four sections of the Kumano Kodo Iseji trail across 5 days in December 2025. So, this report is not a full review of the Iseji trail.
Are you like me?
- Loves the convenience of trails serviced by hourly trains?
- Loves stocking up on food and snacks at FamilyMart each day before a long hike?
- Appreciates beaches and sea towns?
- Is fascinated by Showa era Japanese buildings and documenting their decline as the population shrinks?
- Loves trails with no people?
- Have a few days to commit to hiking?
If yes, then I recommend the Iseji trail! Below, I provide tools that helped me plan my hike and outline my plans for the trail. I hope this helps you!
My credentials. I'm a 33 year old American male. I have minimal Japanese proficiency. I have some experience hiking/backpacking in Japan. I section hiked the Nakasendo two years ago and had a very similar experience on the Iseji.
My tools.
- Kumano Kodo Iseji Navigator – The single most important planning tool. The trail is mapped on Google maps. It maps each Toge (mountain pass). I used it for putting points on my google map that I referred to on my phone as I walked.
- Craig Mod's Iseji-Walk with me guide– Craig chronicles his entire hike in 2019. It helped me with determining which sections to hike and which ones to skip.
My gear. Here is what I brought:
- Osprey Sportlite 25L
- Amazon basics luggage cubes (small)
- Uniqlo round mini shoulder bag
- 3 pairs of Darn tough mid-weight socks
- Thermal leggings
- Mountain Hardware down puff jacket
- 3 pairs of underwear
- 2 tee shirts
- Pajama pants
- 1 Heattech long sleeve shirt from uniqlo
- Altra Timps 1.5 (yes they are old)
- Waterproof toiletry bag from ikea
- Nintendo 3ds
- Macbook pro
- Various chargers from my phone, computer, etc
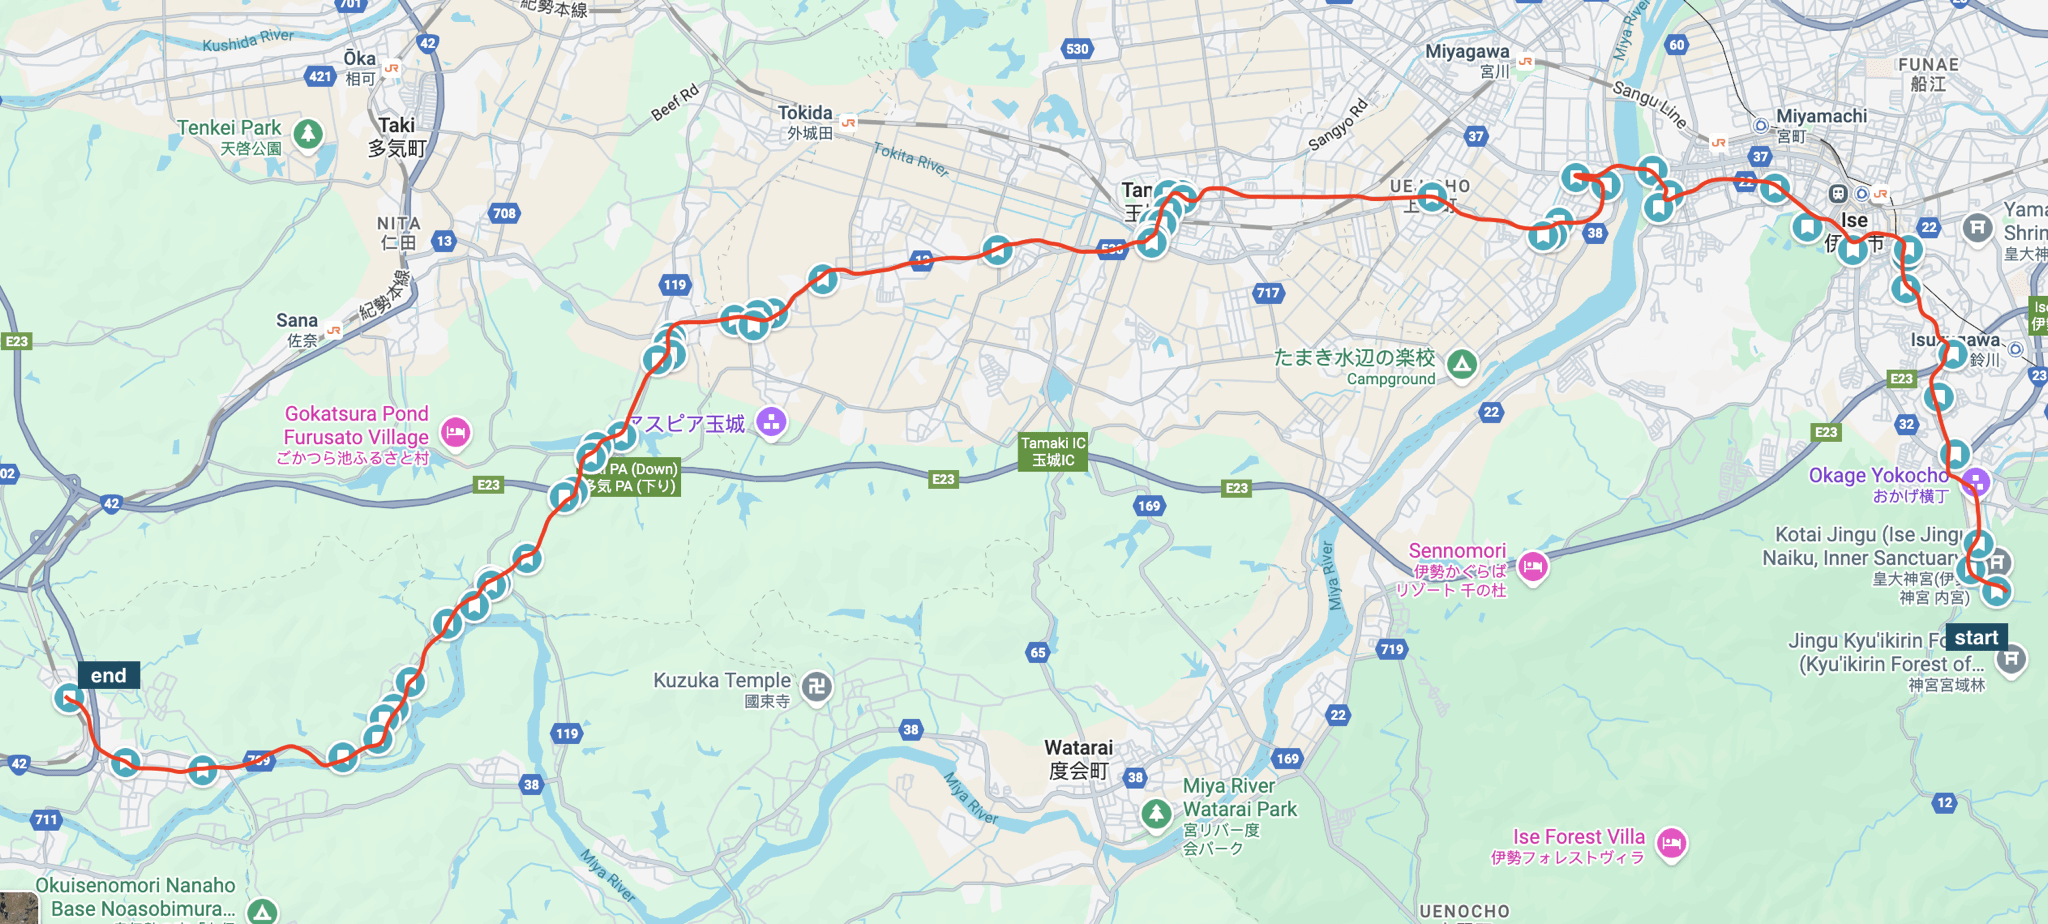
My itinerary. My hike was in the last week of December 2025. I started in Ise and ended in Shingu. I chose these sections because they weren't super challenging (for example, I skipped the Yakiyama Toge which seemed too strenuous to me). Also, I wanted to minimize walking along the highway as much as possible, so I skipped certain sections where that was prevalent. Finally, with the convenience of the JR train, I could end my hike at a station and take the train to the next town where my accommodation was.
- Day 1: Ise Jingu Naiku -> Tochihara JR station.
- Day 2: Umegadani JR station -> Kihoku.
- Day 3: Funatsu JR station -> Owase.
- Day 4: Nigishima JR station -> Odomari JR station.
My accommodations. Here is where I stayed:
- Ise – Guest House Sora
- Taiki- Aso JR station area – Room in Taiki
- Kihoku – Homestay Bokusu (Toshiko is amazing host)
- Owase – House rental
- Shingu – Gran Hotel
Highlights.
- Hadasu is a village built on cliffs over the ocean. The trail goes through it. It was so pretty seeing all the terraced gardens and homes.
- Atashika beach was so serene. It was like a dream to walk off the mountain and end up in the beach town with a wide open sandy beach in a bay encircled by mountains.
- I enjoyed the section from Atashika to Odomari so much that I would do it again. I liked it that much.
- Kihoku (Kii Nagishima), in the southern part of the town, the trail goes through a very retro Showa area with towns of shops that look like they are slowly decaying. The neighborhood is still inhabited, but it seemed like many of these shops were a relic from several decades ago, frozen in time.
- Walking south into Owase from the mountain, you get a beautiful view of the town as you walk through a cemetery on the hill
Other thoughts.
- The first section from Ise to Tochihara was a lot of road walking and the scenery is a bit flat and uninteresting. Ise itself has a small city vibe but still pretty quiet and maybe a little boring. I would maybe skip this section if I did it again.
- Taiki- Aso area was really beautiful. The town is in a small valley with mountains on all sides. It was so dreamy to wake up there and walk around that morning as I walked to the train station.
- I was able to get by knowing very little Japanese, but highly recommend having greater proficiency or traveling with someone who was proficient. It would have enriched the experience even more.
- Overall, hiking these sections was not difficult. The most difficult parts are those like Magose-Toge pass which ascends and descends rather steeply. The biggest risk would probably be from slipping or falling on lose stones- so please take your time and watch your step. The other concern would be to be careful walking along roads, although traffic was very light when I went.
- Oh and one more thing, you will see many signs warning about bears. Bring a bell with you on your hikes. I did not see a single bear, but I saw many signs warning about them.
Edit: fixed some typos and added to the "other thoughts" section.
by FunnyAd7266